

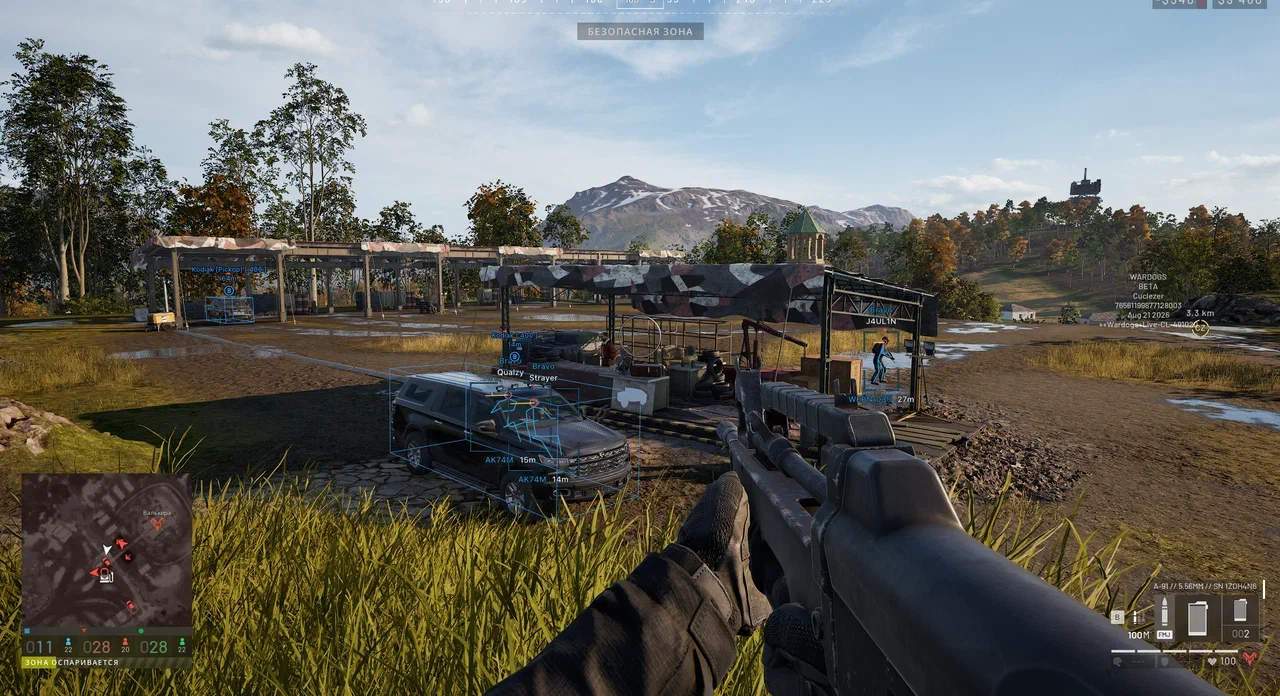
Most new WARDOGS players run into the same wall. You get your $10,000, you buy something that looks good, you die to a mortar you never saw, you buy something slightly worse, you die again — and about forty minutes in you realise the balance in the corner of your screen is going one direction only.
The fix is not "get better at shooting". WARDOGS pays you for usefulness, and shooting is one of the less profitable ways to be useful.
This guide covers exactly what earns, what it costs you, how the Hot Zone multiplier changes everything, and how to dig yourself out when you are nearly broke.
First, Understand What Your Money Actually Is
Three rules define the whole economy, and everything else follows from them:
- Your $10,000 is a one-time stake. It is an account balance, not a per-match allowance. It never automatically refills.
- Cash persists between matches. Log off rich, log in rich. Log off broke, and you start your next session broke.
- Dying costs you whatever you spent on that life. Not your whole balance — just the loadout you were carrying.
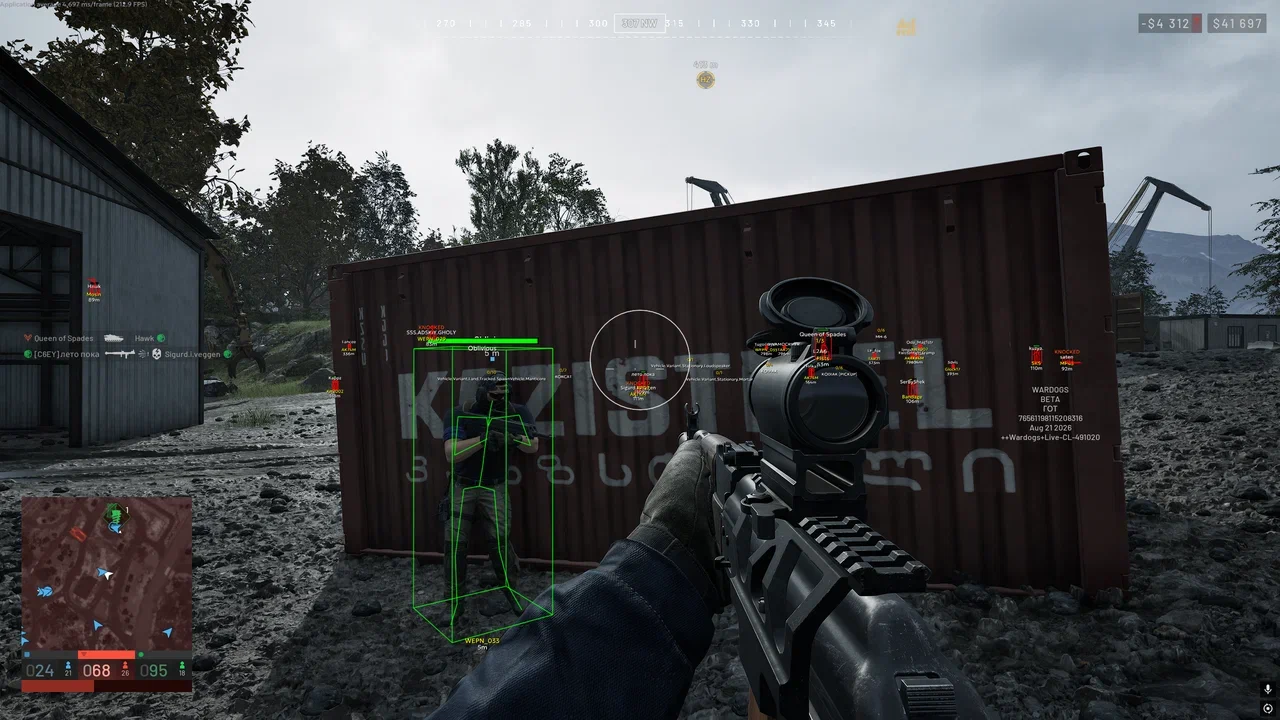
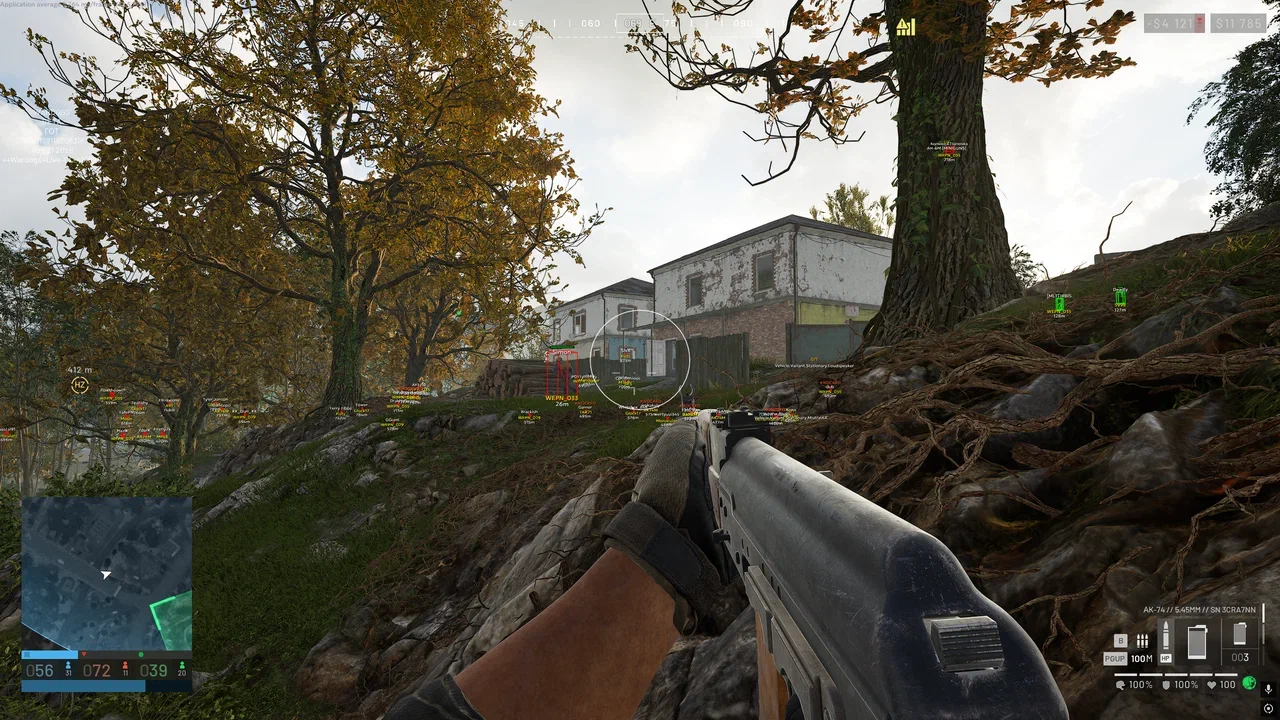
The number in the top right of your HUD is your total. The smaller red number next to it is your profit or loss for the current life. That second number is the one to watch, because it tells you in real time whether the way you are playing is paying for itself.
Treat the $10,000 as working capital, not as a free first loadout. It is the float you use to generate income, and if you burn it on one expensive kit you have removed your ability to earn.
What Actually Pays in WARDOGS
Here is the ranking, roughly best to worst, based on how the beta economy behaved.
1. Transporting players — the best money in the game
Driving or flying teammates to the fight is, by a wide margin, the most reliable income in WARDOGS. You get paid per delivery, the payouts are large, and you earn a lot of player XP alongside it.
The loop is simple and almost risk-free:
- Buy a cheap transport vehicle
- Park at spawn until people pile in
- Drive or fly them to the edge of the Control Zone
- Drop them, turn around, repeat
It is not glamorous. It is also the single fastest way to go from "nearly broke" to "can afford whatever I want". Players who never win a gunfight routinely out-earn people topping the kill charts by doing nothing but running a shuttle.
The helicopter version pays even better, but only take it once you can afford to lose the aircraft. A downed helicopter with your money in it is a bad afternoon.
2. Delivering supplies and running logistics
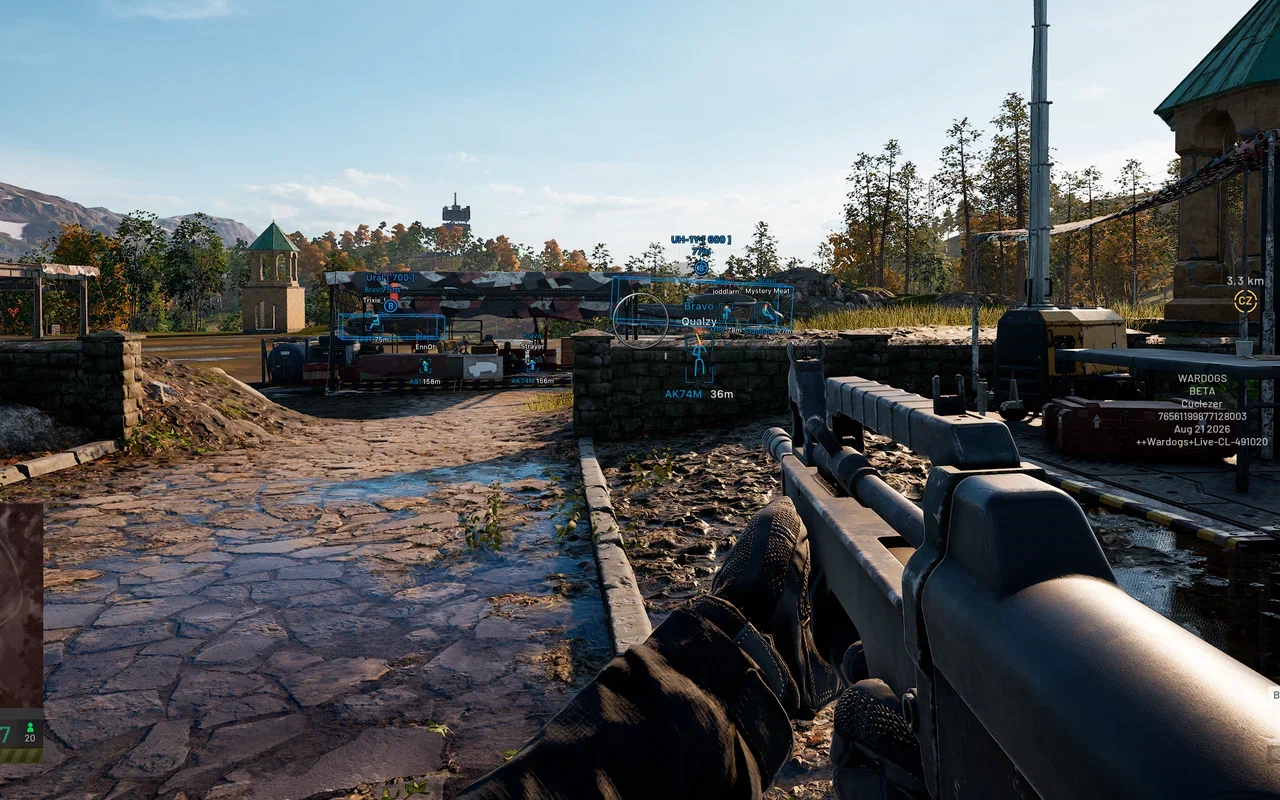
The same principle as transport, applied to crates instead of people. Supply runs pay well, they pay consistently, and they are safe as long as you are not driving into the Hot Zone with a truck full of ammunition.
Logistics is the backbone of the whole game. Somebody has to do it, most people cannot be bothered, and the game pays a premium for that.
3. Building on contested ground
Building is quietly one of the best earners once you know the pattern:
- Buy a hammer from the shop. It is cheap.
- Head toward the Hot Zone and find a tower your team currently controls.
- Open the build menu and place sandbags or Hesco blocks.
You get paid for the construction, you make the position actually holdable, and because you are near the Hot Zone you are frequently inside the double-cash radius while doing it.
The catch: building somewhere safe and irrelevant pays much worse than building where the fight is. The game rewards fortifying ground that matters.
4. Reviving squadmates
Steady, reliable, and available constantly in a game where 100 people are shooting each other. Reviving pays properly, and in a busy fight you can chain revives faster than you could ever chain kills.
If you are running low on money, a medic-ish loadout — cheap rifle, bandages, nothing expensive — is one of the safest ways to rebuild. You are spending almost nothing per life and earning on every pickup.
5. Spotting enemies
Genuinely underrated. Spotting pays surprisingly well in both cash and Recon XP, and it costs you nothing at all. Every enemy you mark for your team is free money.
If you are holding an angle anyway, spot everything you see. There is no downside.
6. Holding objectives and zone presence
Simply being inside the Control Zone earns. Being inside the Hot Zone earns double. This is passive income that runs the entire time you are alive and correctly positioned, which is why the best earners in a match are usually the people who are also winning it.
7. Kills — last, and it is not close
Kills pay cash. They do not score points for your team, and the payout is not large enough to fund an expensive playstyle on its own.
If your plan is "go 40-5 and get rich", the maths does not work. You will spend more on the loadout that lets you go 40-5 than the kills give back.
The Hot Zone Doubles Everything
This is the single biggest multiplier in the game and most new players ignore it.
Inside the Hot Zone:
- Every player counts as two toward your team's presence
- Every player earns double cash
That is not a small bonus. It means an hour of transport runs into the Hot Zone edge is worth roughly two hours of the same work elsewhere. It means building sandbags in the Hot Zone pays twice what building them at your FOB pays. It means reviving there is worth double.
The Hot Zone marker shows on your HUD with a distance readout — the small HZ indicator. Learn to read it and orient everything you do around it.
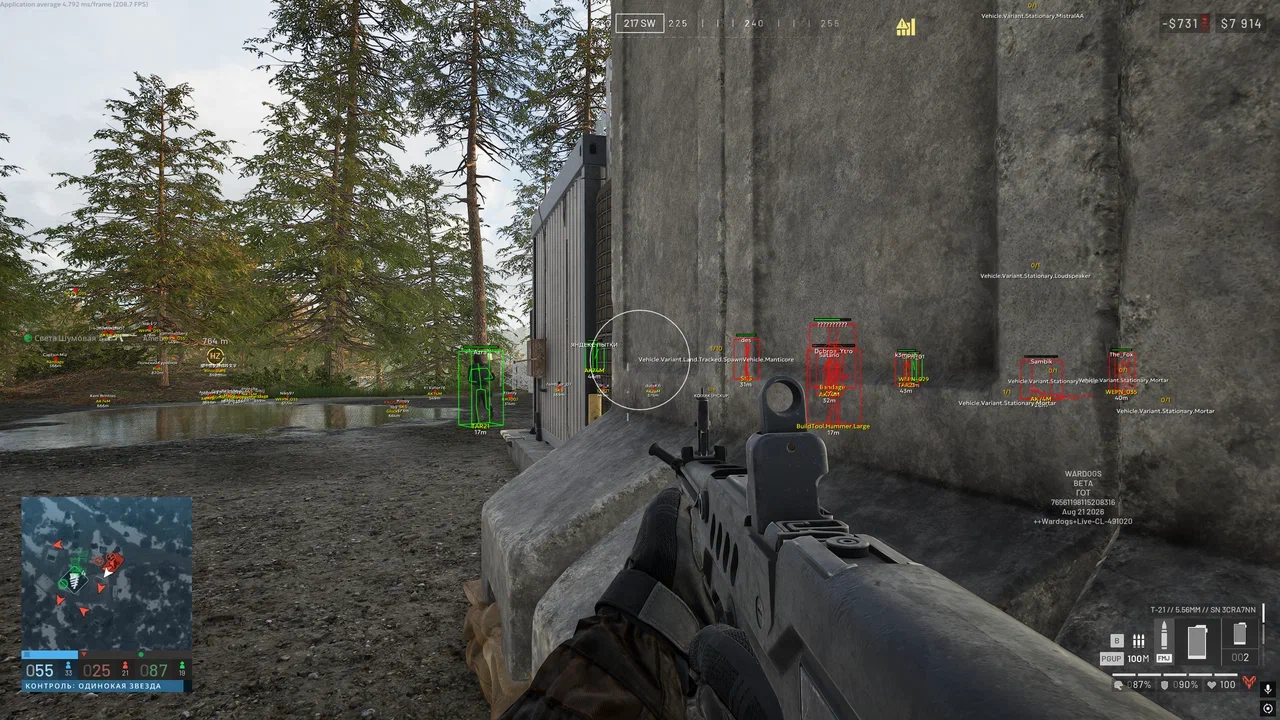
Obviously the Hot Zone is also where you are most likely to die. That is the trade. The way experienced players resolve it is by going in cheap: a low-cost rifle, bandages, a hammer, no vehicle you would miss. Your death costs almost nothing and your income is doubled the entire time you are alive.
How to Spend Without Going Broke
Buy cheap, live long
The T-21 and other entry-tier rifles are perfectly good. Gunplay in WARDOGS is snappy and forgiving; a more expensive weapon does not fix bad positioning and will not earn its own cost back.
A useful discipline: your loadout should cost less than you expect to earn that life. If you are averaging $3,000 a life, do not spawn with a $6,000 kit.
Utility over optics
Bandages, build tools, smoke. These directly generate income — revives, construction, surviving long enough to keep earning. A better scope generates nothing.
Never buy a vehicle you cannot protect
Vehicles are the biggest single-purchase risk in the game. A helicopter is expensive, extremely visible, and a magnet for every AA emplacement and rocket on the map. Buy one when you have a buffer, not when you are hoping it will fix your balance.
Read the terrain before you spend
Check where the Control Zone landed before you open the shop. Open valley favours optics and vehicles. Dense industrial ground favours short-range weapons and utility. Buying a long-range kit for a close-quarters zone is how you lose money twice — once on the purchase, once on the death.
The Broke Recovery Plan
You have a few hundred dollars left and no idea how to climb out. Do this, in order:
- Stop buying combat loadouts. Spawn with the cheapest thing that functions.
- Buy a hammer. It is the highest return-on-cost item in the shop.
- Get a transport vehicle as soon as you can afford one. Cheapest available. Run people to the zone.
- Spot everything. Free money, zero risk.
- Revive constantly. Carry bandages, follow your team, pick people up.
- Only re-enter the Hot Zone once you have a buffer — then go in cheap and let the double rate work.
Two or three matches of this and you will be back to buying whatever you want. It is boring. It also works, reliably, every time.
Gold Bars: Do Not Rush Them
Cash you do not need converts into gold bars, the endgame currency spent in the Gold Market on cosmetic unlocks. With no battle pass and no microtransactions in the game, gold is the only cosmetic progression there is.
The mistake is converting too early. Gold does not buy loadouts. Every bar you take is money you cannot spend on a rifle, and going back to broke because you wanted a skin is a genuinely common way to ruin a session.
Build a stable income first. Convert the surplus, not the float.
FAQ: WARDOGS Cash and Economy
How much money do you start with in WARDOGS?
$10,000, once, at the account level. It is not a per-match allowance and it does not refill when you die. Everything after that is earned.
What is the fastest way to make money in WARDOGS?
Transporting players and supplies. Buy a cheap vehicle, shuttle teammates from spawn to the Control Zone, repeat. It pays more per minute than combat, carries almost no risk, and earns significant XP alongside the cash. Building with a hammer near a contested tower is a close second.
Do you lose all your cash when you die?
No. You lose the value of the loadout you were carrying. Your account balance persists across deaths and across matches — which is exactly why spawning with an expensive kit you cannot afford to lose is so punishing.
Do kills make good money in WARDOGS?
Not really. Kills pay cash but they do not score points for your team, and the payout will not fund an expensive playstyle. Teamplay actions — revives, transport, supplies, spotting, zone presence — pay considerably better.
What does the Hot Zone do for cash?
Doubles it. Every player inside the Hot Zone earns double cash and counts twice toward team presence. It is the highest-value ground on the map for both income and winning.
Should I convert cash into gold bars?
Only your surplus. Gold bars buy cosmetics in the Gold Market and nothing else — they cannot fund a loadout. Get a reliable income first, then convert what you genuinely do not need.
Is there a way to buy cash with real money?
No. WARDOGS has no microtransactions and no battle pass. Every dollar in the game is earned by playing.
Where to Go Next
If you are still getting your bearings on the match format itself — how the Control Zone scores, why three teams changes everything, what to buy for which terrain — start here:
👉 What Is WARDOGS? Control Zones, Cash and Loadouts Explained
And if the reason you keep losing kit is that people seem to know exactly where you are before you round the corner, that is worth understanding too:
👉 Does WARDOGS Have Anti-Cheat? EAC, Kernel Level and Ban Risk Explained
The players with the biggest balances in WARDOGS are almost never the ones with the best aim. They are the ones who worked out early that the game pays for logistics, and let everybody else fund their rifle collection by dying in the Hot Zone.